When should I book my wedding cake?

As soon as you’ve confirmed your date and venue you should be looking to book all your other services for the big day.

Wedding suppliers have limited availability, particularly for weekend dates that will get snapped up quickly and demand for wedding services is still up post pandemic. Being organised will give you the best opportunity to choose your favourite rather than pick from what’s left. It will also help you budget for your big day.

As a cake maker I have to consider how much baking capacity, fridge space, storage space and delivery availability I have before taking on bookings – it’s just me in the cakery and I only have a limited capacity and when it’s full, it’s full!

You don’t need to know all the details to be able to secure your booking, the basics will do. These are the three most important things to consider before contacting any cake makers

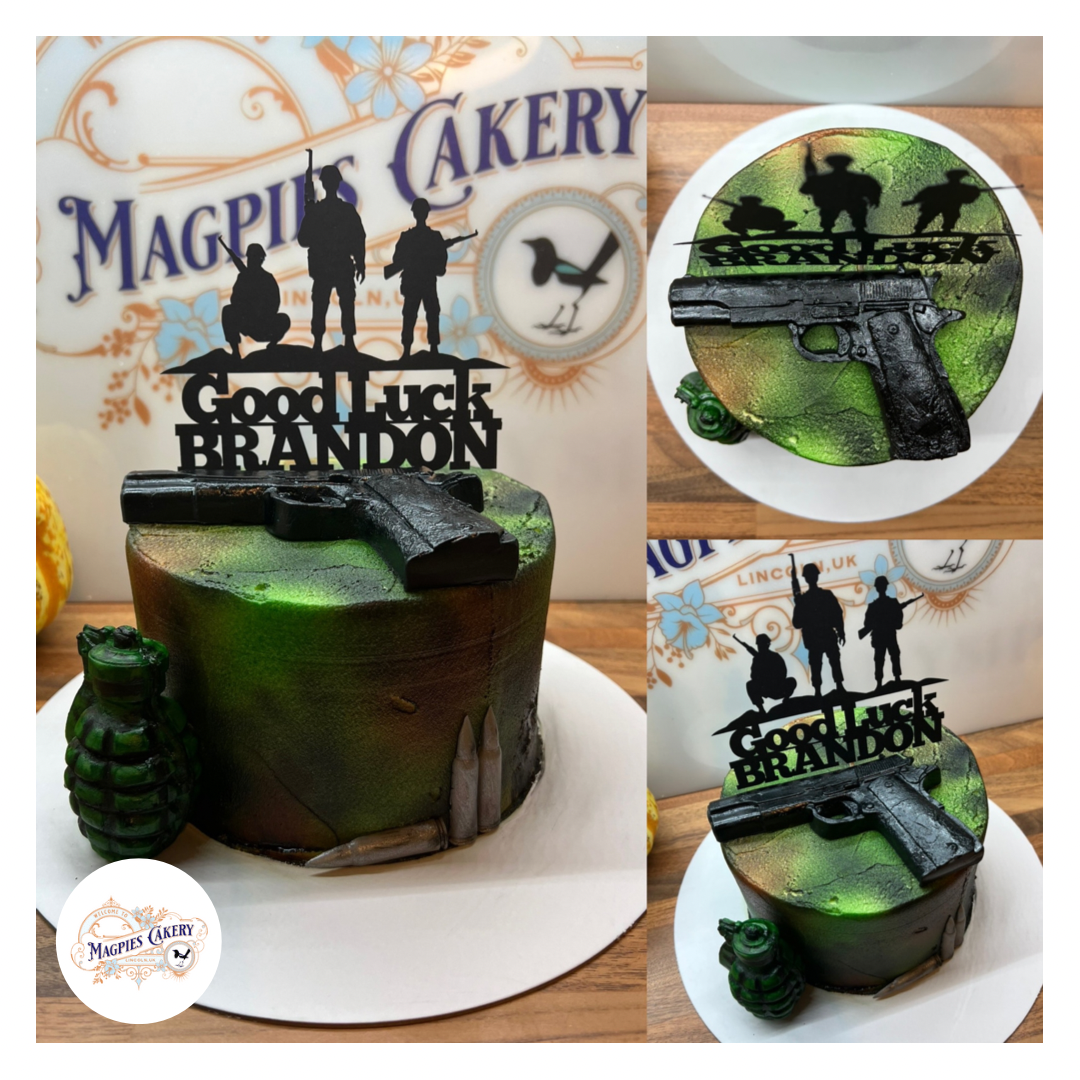
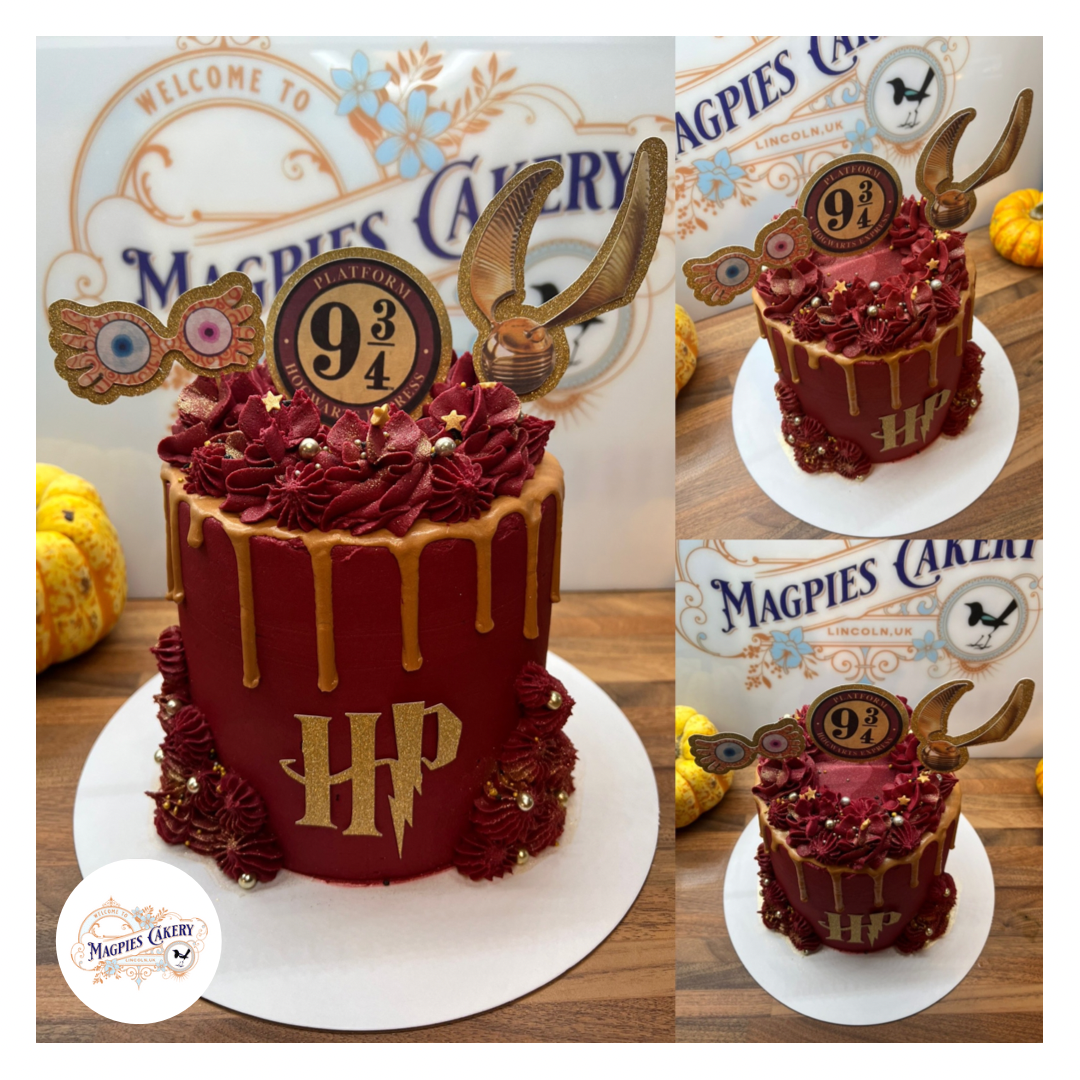
1. What kind of design ideas do you have or style of cake you want. Do you want a semi naked cake? Buttercream finish? Or full fondant finish? If you can provide some design ideas this will help to see if you and your cake maker are a good fit. Each cake maker has their own style and I certainly know the kind of cakes I want to make, I enjoy making and the ones I don’t! It’s worth taking a good look at any photo galleries or examples of cakes on websites and social media pages – does their style matches yours? Will you be providing your own cake decorations, flowers or toppers? Some couples will task their florist with flowers for the cake, provide their own to the cake maker ahead of the event, at the venue for set up on the day or let the cake maker take care of it. This doesn’t need to be decided straight away but may affect your quote along the way. Flavours can be decided later but if you want to try wedding cake samples before you commit most bakers will be able to help you – I offer cupcake sample boxes once a month which gives you up to 3 flavours per box of 6 at a cost of £10. When you book £10 will be deducted from your deposit for wedding cakes over £150. This gives you an opportunity to try my cakes before committing and paying a deposit.

2. Roughly how many wedding guests are you looking to serve. Consider in this figure whether you want cake to enjoy after the event or if you may want extra for anyone unable to attend the event. This will help you get an accurate quote and make sure you’re not wasting money or having lots of leftover cake. Do you want a single tier or multi tiered cake? Do you want a mix of cake and cupcakes? Do you have any guests with dietary requirements that need to be considered? All of this information will help you get an accurate quote. Now, you may only be having 20 guests but have your heart set on a three tier cake and that’s ok. If this is the case, let your cake maker know that the aesthetic of the cake is more important that how many it serves and let them quote you accordingly.

3. Do you need your cake delivered to the venue on the wedding day? You’re going to have a lot to do in the days leading up to and on the day of your wedding so stressing about collecting, storing, transporting and setting up your cake may be something you don’t want to add to the list! If you’re getting married in the summer months when heat is a factor or having a tiered cake, getting your wedding cake delivered on the day will save you a huge amount of worry. Again, delivery availability for weekend dates will be limited so more reason to book as soon as you can to avoid disappointment.

I’m very excited to make all the wedding cakes I already have booked in for 2023 but I do have availability for weekends and weekdays throughout the year so please get in touch! I also have bookings for 2024 and enquiries are coming in daily so it’s not too early!

For weddings more than 3 months away I ask for a 25% non refundable deposit to book with the remainder payable 4 weeks before.

If you think I may be the cake maker for you please send me a message with your wedding date and venue, any ideas you have, how many you’re looking to serve and whether you need delivery. I can then check availability and send you a quote.

Thank you so much for supporting my cakery!

Mags ❤️

Easy pancake recipe

Pancake Day is absolutely one of my favourite days of the year so I thought I’d share my favourite, easy pancake recipes with you!

I’ll not start a whole debate at to what you should put on them (I prefer the traditional lemon and sugar on a crepe and butter on a scotch pancake) as the possibilities are pretty much endless!

Below you’ll find recipes for traditional crepes which are very thin pancakes designed to be filled and rolled and scotch pancakes or drop scones which I hear are the Queen’s favourite and are a smaller but fluffier pancake perfect for stacking. You can add fruit and chocolate to the scotch pancake batter for an extra treat or just load up your stack with your favourite toppings and sauces

Traditional crepe pancakes

Ingredients

  • 75g plain flour
  • 2 eggs
  • Pinch of salt
  • 150ml milk

Method

  • Add flour and salt to a bowl, make a well in the middle and crack in your eggs
  • Add the milk a little at a time, whisking well until you have a smooth batter
  • Transfer batter to a jug and leave to rest
  • Heat up your oil in a pan until it starts to smoke a little
  • Drain excess oil (I pop this in a cup on the side to use later) until the pan is just covered
  • Pour batter into centre of the pan and tilt until the batter is covering the whole base of the pan
  • When your pancake is ready (give the pan a little shake and if the pancake moves easily it’s ready) flip it over and lightly brown the other side before transferring to the plate
  • Add a little more oil to the pan, wait until it starts to smoke and add the next batter…and repeat
  • Remember – the first pancake is always a bit rubbish!

Scotch pancakes

Ingredients

  • 175g plain flour
  • 2 tsp baking powder
  • 1 tsp caster sugar
  • 1 egg
  • Pinch of salt
  • 200ml milk

Method

  • Add flour, sugar, baking powder and salt to a bowl, make a well in the middle and crack in your eggs
  • Add the milk a little at a time, whisking well until you have a smooth batter
  • Transfer batter to a jug and leave to rest
  • Heat up your oil in a pan until it starts to smoke a little
  • Drain excess oil (I pop this in a cup on the side to use later) until the pan is just covered
  • Pour batter into the pan, about half the size you want your pancakes to be as they will spread
  • When your pancakes are ready (give the pan a little shake and if the pancake moves easily it’s ready) flip them over and lightly brown the other side before transferring to the plate
  • Add a little more oil to the pan, wait until it starts to smoke and add the next lot of batter…and repeat
  • Remember – the first pancake is always a bit rubbish!

Happy pancaking!

My oven blew up!

I wasn’t sure where to start with my blog and then my oven blew up and honestly kids, it was quite traumatic! So, less of a blog, more of a public service announcement to share my experience in case anyone else finds themselves in the same position.

Picture the scene, it’s Wednesday afternoon and I’m getting a head start on my bakes that are all due to be collected on Friday. Then bang, noise from the oven and all my electrics went out. No bother I thought, I’ll just find what’s tripped and I can get on. Electricity restored I popped my next five layers in the oven. Except they didn’t bake. The oven is on, the light is on, fan is on but there’s no heat! Like any gen x, I google my issue – no bother says the internet, easy job, no need to get a professional out, anyone can DIY this job, there’s even a how to video – tripped electric plus no heat = broken oven heating element. Excellent news because I don’t have the time to get a new oven ordered and installed or wait for a tradesman to fix it.

So off I go to Amazon, search for oven heating element armed with my model number (you can find this on your oven manual or mine had a sticker inside the oven door), checked the prime box and £12 later I wait…

Obviously baking is now off so I get on with making decorations. Fast forward to Thursday afternoon and hurrah! Amazon arrives with my new oven heating element.

I turned the electric to the oven off – this is important, please don’t blow yourselves up! I watch the video again, armed with a cross head screwdriver, a light positioned to illuminate the inside of the oven and remove the door, the fan cover and the old heating element. The old connectors just pulled off – just make sure to make a note of which wire goes with what prong of the heating element. So far so good!

I go to reattach the new heating element. Balls. Because I couldn’t quite see the original connection I have no idea how the oven wire and the element connect up! I watch the video again – just connect it. Great, HOW? I google images and diagrams – nothing (which is why I’m sharing here!). I take the entire oven out and unscrew the back thinking I might be able to see better from the back. I call my Dad, send him photos and he says the same – just connect it. I still don’t know how. I call my friends husband, send him the images, he says the same. I try and connect the old element – they look exactly the same – I have no idea how this spade connector fits with the prongs on the heating element. I have a meltdown and a little cry – time is ticking!

And then it just clicks. I’d been trying to shove the spade connector into the middle of the prongs when all along it just slides onto one of the two prongs – it doesn’t even matter which one! And that kids is why I’m not an electrical engineer.

Anyway, each spade connector goes on one prong (why are there two?!), either side of the heating element.

I turn the electric back on before putting the oven back together (I’m not doing that twice), turn it on and it doesn’t blow up – SUCCESS!

Once I put the oven back together I only had two leftover screws, obviously unnecessary…

It really is a simple job to replace the heating element in an oven – once you know how the connectors work – if I can do it, so can you!

I really hope this helps someone fix their oven quickly with less stress that I had – good luck!

Here’s some of the lovely bakes that all went out in time after not very much sleep